If you’ve ever built an anonymous setup for working online, you’ve definitely used proxies at least once.
Proxies let you change your IP and geo, and when paired with an anti-detect browser, you get what actually matters in practice: stable sessions with fewer triggers and a lower chance of getting flagged due to repeated network signals.
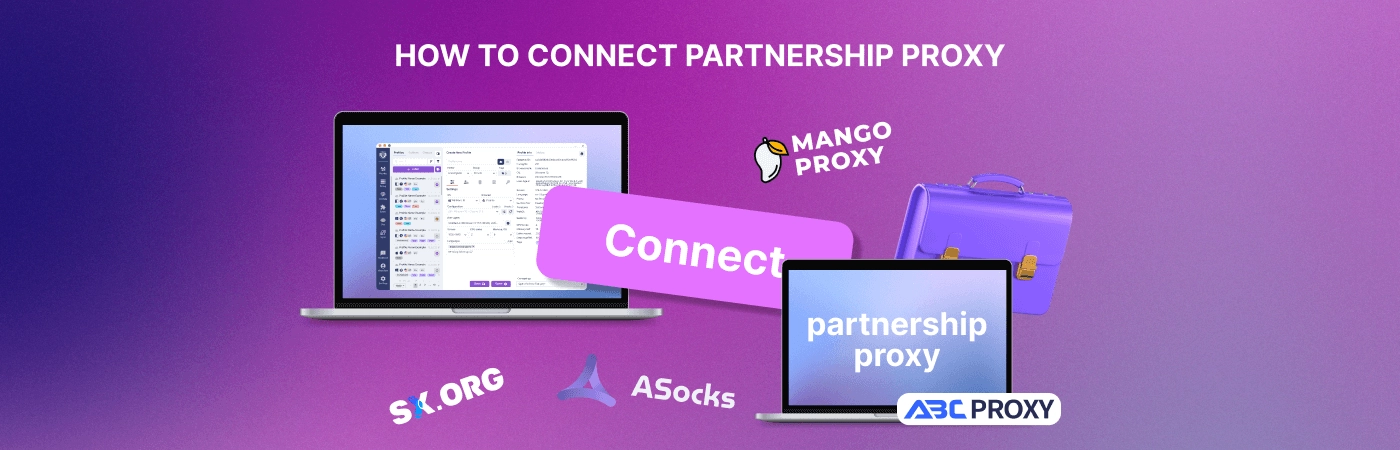
To avoid jumping between dashboards and manual configs, Undetectable integrates partner proxy providers directly inside the app.
That means you can generate and connect proxies right in the browser, then simply assign them to the profile you need.
Below is a step-by-step guide for each integrated proxy partner.
ABCProxy
Step 1. Add Your IP to the ABCProxy Whitelist
To generate proxies from inside Undetectable, you first need to add your current IP address to the partner’s whitelist.
- Open the partner page in the residential proxies section:

- Click Get proxy.
In the side panel, click Get proxy again.
- Open the IP white list configuration tab.
Click Add white list.
- Enter your IP address and confirm by clicking Confirm.
Your IP will be added to the whitelist.
Step 2. Generate and Add Proxies in Undetectable
Once your IP is whitelisted, everything else is done inside the app.
- Open Undetectable and go to the Proxy Manager.
- Click the briefcase icon (partner proxies).
- Select ABCProxy from the partner list.
- Configure your settings: quantity, country/region, and proxy type.
- Click Generate.
- After the proxies are generated, click Add proxy to save them in the Proxy Manager.
Done — proxies have been added to your Proxy Manager.
SX.ORG
For SX.ORG, you’ll need an API key from your account dashboard.
- Open the Proxy Manager in Undetectable.
- Click the briefcase icon (partner proxies).
- In Select proxy provider, choose SX.ORG.
- Get your API key from the SX.ORG dashboard:
https://my.sx.org/proxy/link → open API documentation → copy the key.
- Paste the key into the field in the Proxy Manager.
- Click Get proxy.
- Configure the proxies below: quantity, geo, type, etc.
- Click Generate.
- Finish by clicking Add proxy.
Your proxies will appear in the list and will be ready to assign to profiles.
Asocks
This takes just a couple of minutes — you only need your API key.
- Open partner proxies (the briefcase icon) in the Proxy Manager.
- In the first field, select Asocks as the provider.
- On the Asocks website, open API documentation and copy your API key.
- Paste the API key into the field in the Proxy Manager.
- Click Get proxy.
- Configure the proxy parameters and click Generate.
- Click Add proxy to save the proxies in your list.
Done — proxies are added and ready to use.
Mango Proxy
For Mango Proxy, you’ll also need an API key from your account settings.
- Open partner proxies (the briefcase icon) in the Proxy Manager.
- Select Mango Proxy from the provider list.
- Copy your API key from the Mango Proxy dashboard:
Settings → API keys.
- Paste the API key into the field and click Get proxy.
- Configure the parameters (quantity, type, geo, etc.) and click Generate.
- Click Add proxy to add the proxies to the Proxy Manager.
After that, your proxies will be available in the list.
Extra Info
How to Check Proxies
To make sure your proxies are alive and ready:
- In the Proxy Manager, right-click the proxy you want.
- Select Check Proxy.
- In the status column, you should see a green “Active” label — that means the proxy is working.
How to Assign a Proxy to a Profile
- In the Profile Manager, select the profile you need and click it.
- In the settings window (main settings section), pick the proxy you want from the list.
- Click Save to apply changes and start using the proxy.
PS
To avoid issues during connection, always check your account balance in the proxy provider dashboard before generating proxies.
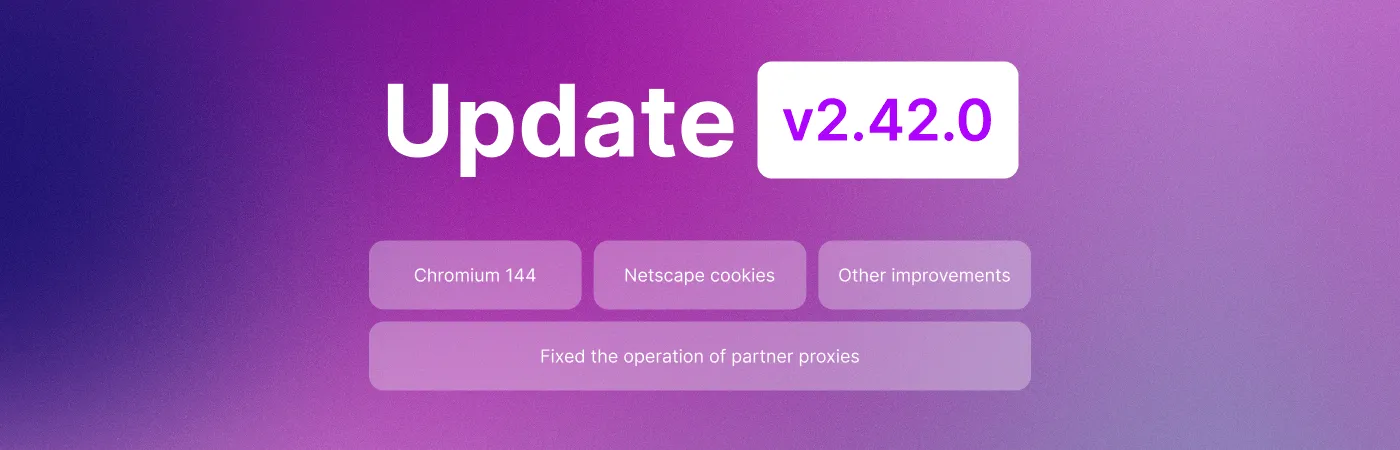
It sounds basic, but it’s the most common reason proxies “don’t get issued” right when you need them.